(Looking for Direct Stripe Support?) Please see the Stripe Support Page for Stripe Troubleshooting or Stripe Account Access Issues
https://support.stripe.com/questions/contact-stripe-support
How to connect banking information in Welld:
- Login to the Welld Admin Dashboard MyWelld Admin Dashboard
- Click on the CONNECT BANKING INFORMATION button. NOTE: There will be a short pause while Stripe loads a secure link.

- A new window will appear with a check list of information needed to set up and finish the Stripe account process.
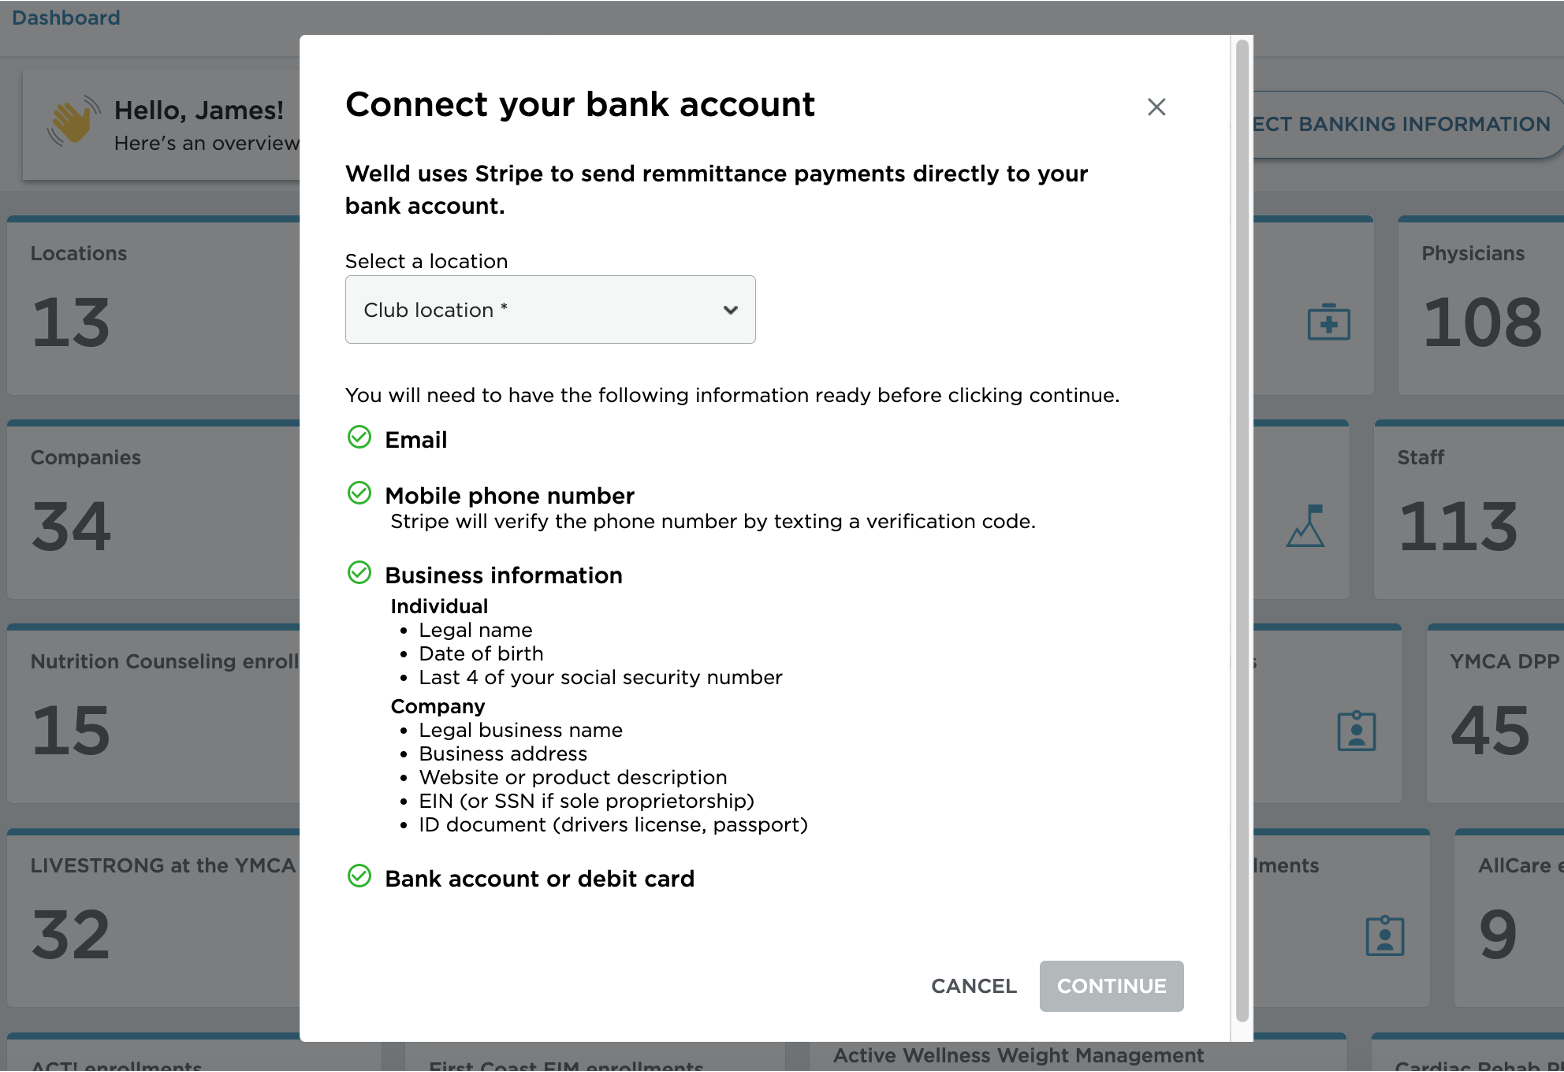
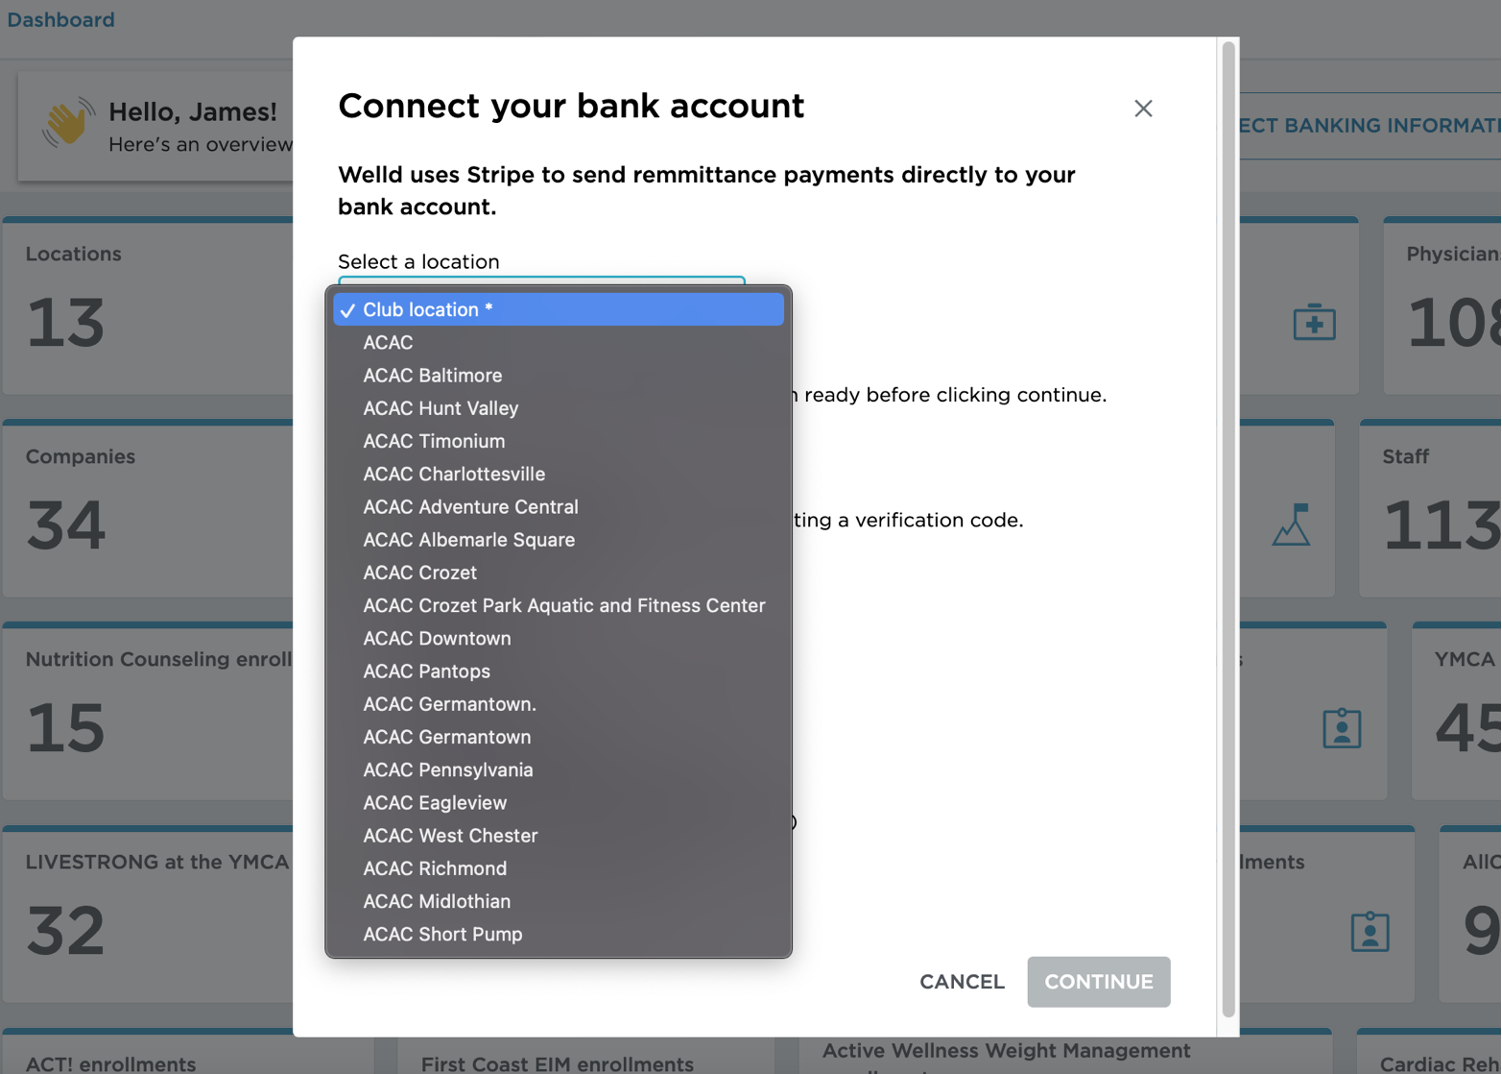
- Select your club location from the drop list. Click CONTINUE to proceed to the Stripe website.
Create your Stripe Account:
There are several steps within Stripe that will need to be completed. We will cover the basics here.
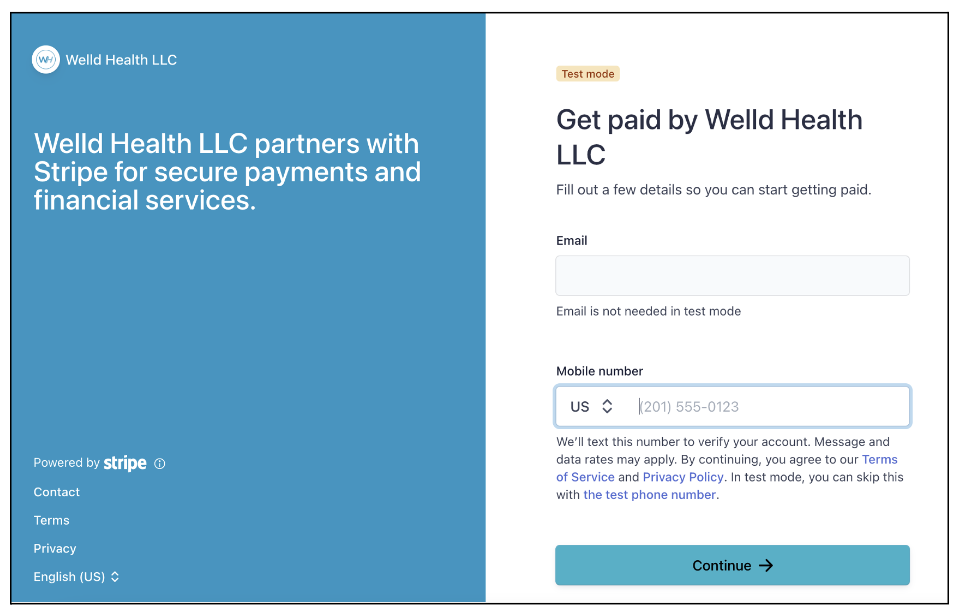
- Enter an email address for your account.
- Enter a mobile phone number. After entering your phone number click Continue. This will trigger the text from Stripe to your cell phone.
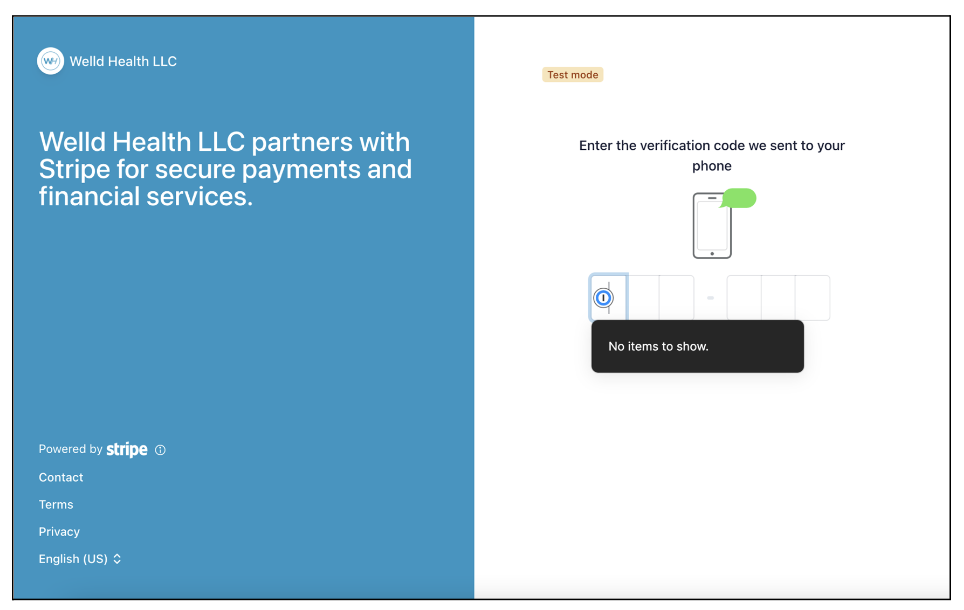
- Once you receive the 6 digit number from Stripe, enter it on the screen. If the code is correct you will automatically be taken to the next screen.
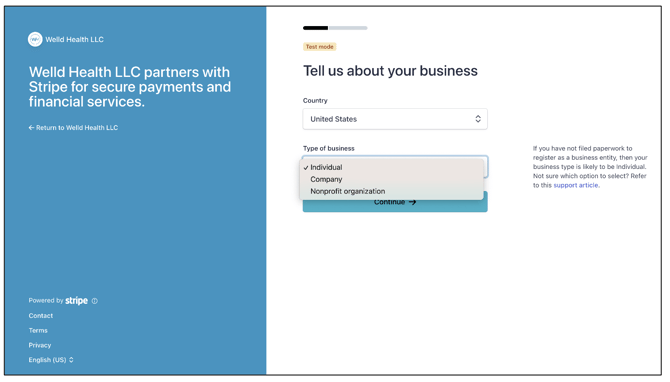
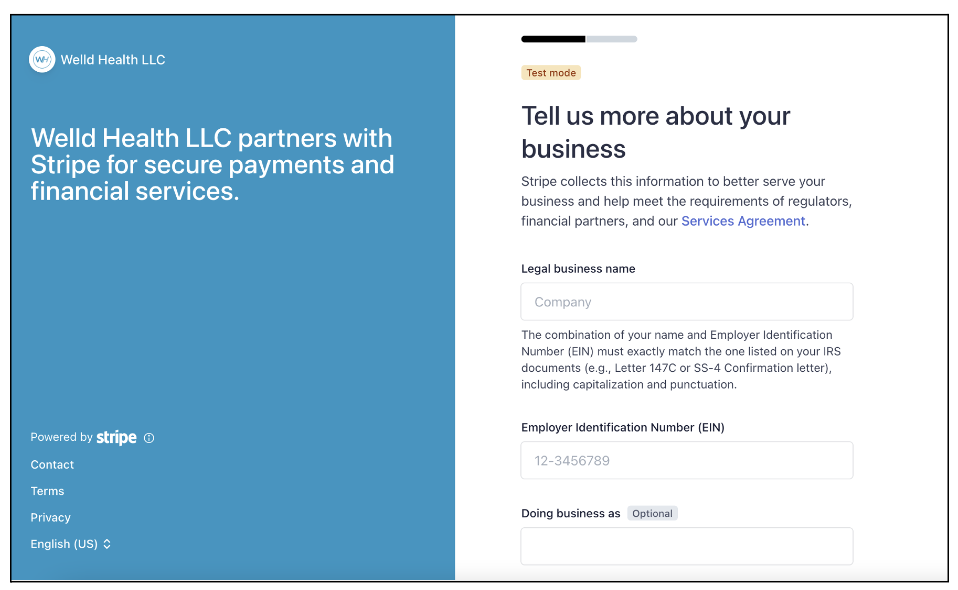
- Enter your business info in the appropriate fields including: country, business type, business structure, legal business name and EIN.
NOTE! Please always choose Company for Type of Business. The other choices in Stripe do not apply for a club or franchise account.
- Continue through the business info screens.
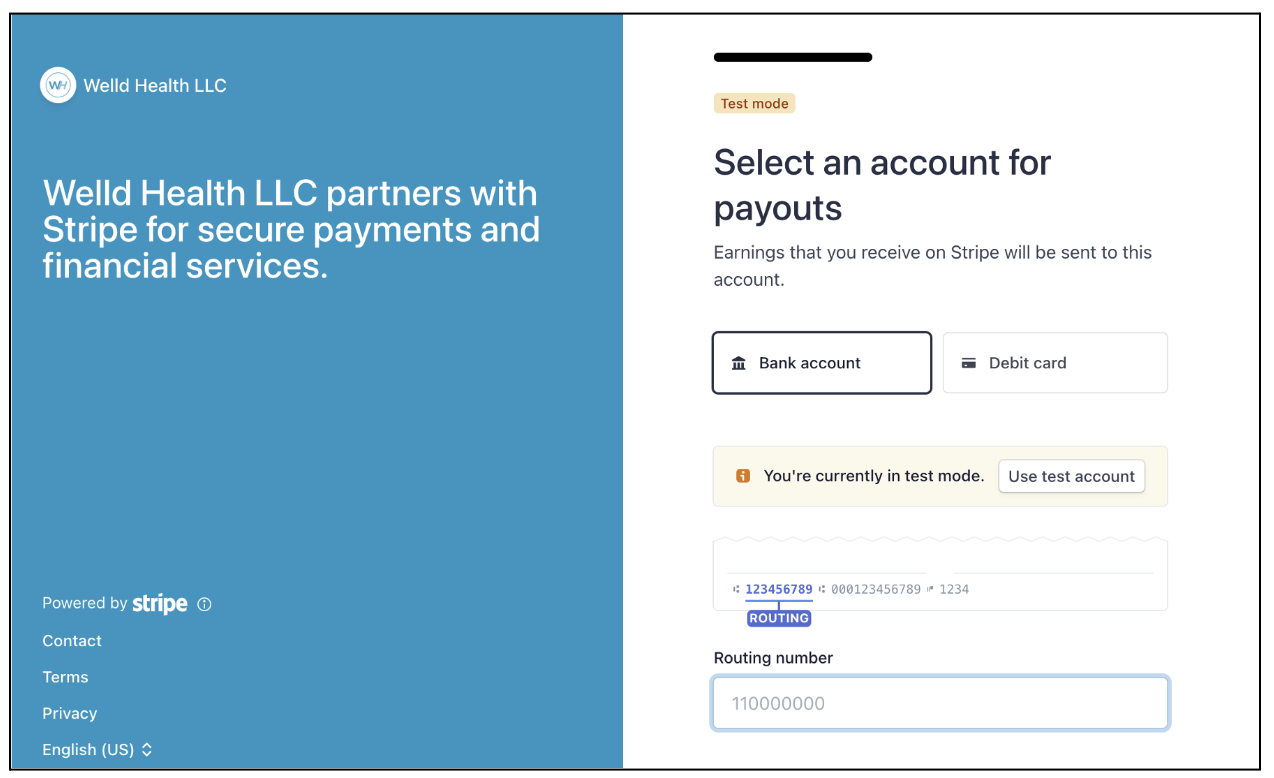
- Enter bank account info in the Account Payout section of Stripe by clicking on "Bank Account" or "Debit Card".
If your banking institution is not an available option via the prepopulated list in Stripe, enter your banking information manually by clicking "Enter Your Bank Details Manually", located in the bottom left corner of the screen.
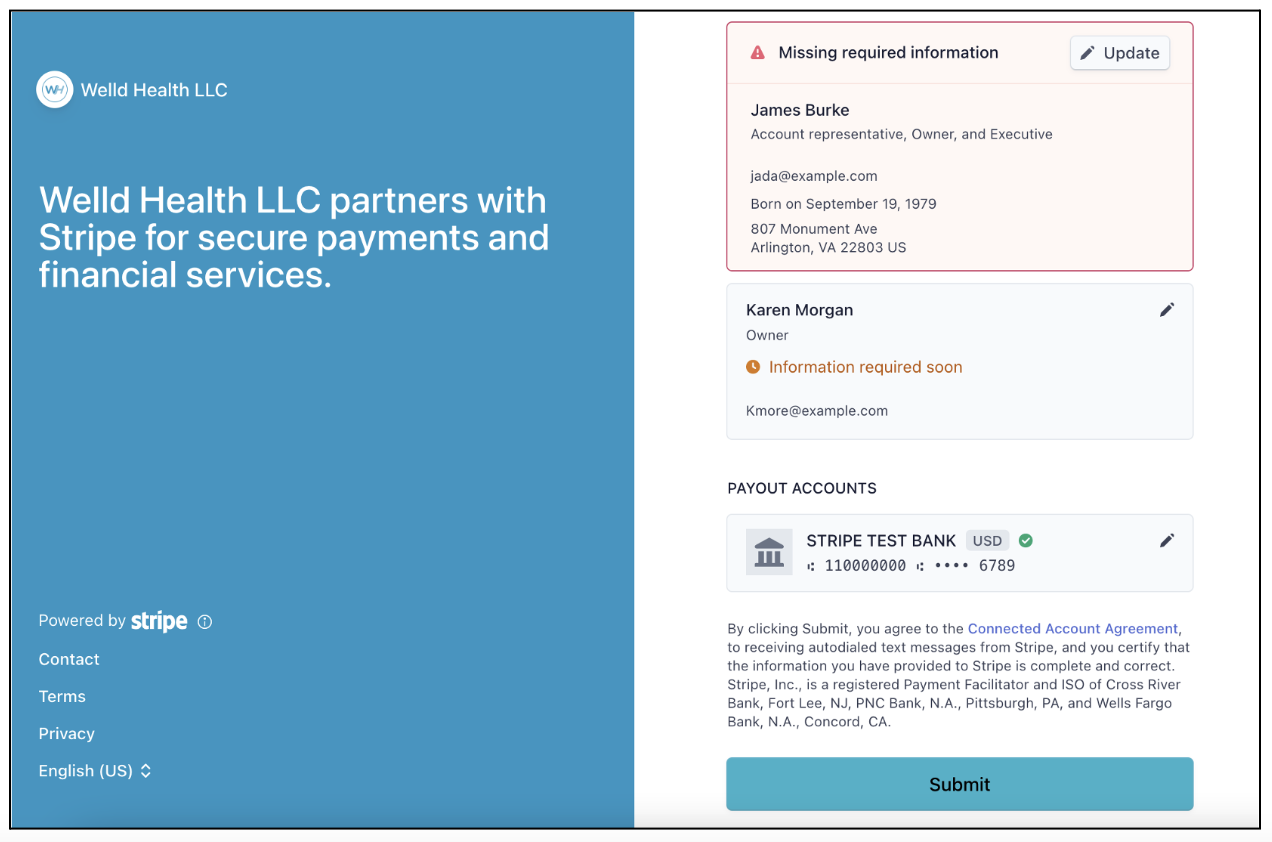
- The last page in Stripe shows a preview of all the info you entered. Any missing info will be highlighted in red. You cannot finalize the Stripe account until all missing or incorrect info has been fixed. Click Submit to finalize the account.
![]()
![]() Please note that hitting the back button on your browser, or refreshing the page, while on the Stripe site, you will be returned back to the Welld Dashboard.
Please note that hitting the back button on your browser, or refreshing the page, while on the Stripe site, you will be returned back to the Welld Dashboard.
NOTE: If the Stripe set up process is not completed in one sitting then the account will become restricted.
See the instructions below on how to edit an existing Stripe account that was already connected to Welld.
Editing an existing Stripe account from Welld:
From the Welld Dashboard, click on the CONNECT BANKING INFORMATION button. You can now see a message regarding initiated/completed Stripe accounts.
- By choosing an existing account location from the drop list, and clicking the continue, Stripe will automatically take you back to the last Stripe screen visited in the sign up process.
- By choosing a new location from the drop list, and clicking continue, Stripe will start a new account for this location from the starting Stripe page.

Potential Stripe Account Statuses:
Once a Stripe account has been started/edited/finished, there will now be a status listed in Welld next to the account name. See below for descriptions:

NOTE: More information can be viewed from hovering over the status icons on the Stripe account side but NOT in Welld.
Restricted:
Restricted means the Stripe account has payouts or payments disabled. Additional information usually needs to be collected to enable these accounts. Those can include:
- Which capability is disabled (payouts or payments).
- What information is required to enable the account.
Restricted soon:
Restricted soon means the account has a due date for providing additional information. Reasons can include:
- The information that needs to be collected to keep the account enabled.
- The due date for providing the information.
Pending:
Pending means the account is being reviewed or verified by Stripe. This occurs when:
- Stripe is verifying the information that was provided, such as an ID document upload.
- Stripe is performing a watchlist check against a list of prohibited individuals and businesses.
- Stripe is reviewing the account for suspected fraudulent activity.
Payouts can be enabled or disabled for accounts with a pending status, and requires no action on your part. Stripe automatically updates the account’s status when the review finishes.
Enabled:
Enabled means the account is in good standing, though additional information might be required if another payment volume threshold is reached. Examples can include:
- What information Stripe might request in the future.
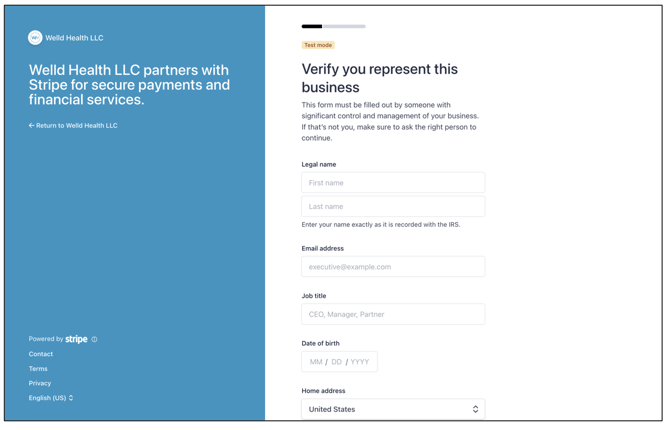
INFORMATION EVENTUALLY NEEDED- Owner's SSN – Last 4
- Owner's address
- Owner's date of birth
- Owner's phone number
Complete:
Complete means the account provided all the required information and is in good standing.
Rejected:
Rejected means the platform or Stripe rejected the connected account. You can hover over the badge to see the reason the account was rejected. In general, accounts are rejected if they’re suspected of fraudulent activity.
Direct Stripe Support and Troubleshooting: Here is a link to the Stripe Support page for additional information and troubleshooting.
Stripe support PAGE. https://support.stripe.com/questions/contact-stripe-support
Was this article helpful?
If you liked this article, give us a 'Yes' on the helpful article question below. If we're missing something, please give us a 'No' and tell us what we're missing. Believe us, this product only gets better based on your feedback! You'll be helping us help the rest of the country in improving the health of communities everywhere